
Customised and creative floor Coating at MeisterCampus Cologne
How can creative design be combined with a functional floor coating? The answer lies in a project at the Cologne Chamber of Crafts’ training centre. In two differently designed corridor areas, the Enke Betoncoat system was used to create surfaces that are not only hard-wearing but also visually striking – including an asphalt-like road and an area coated with chips featuring a logo. Professionally planned and implemented by Enke technicians DDM Pierre Keune, DDM Volker Schneider and field service technician DDM Rolf-Dieter Dombrowski.


Sanding the substrate
First of all, the old floor covering was removed by sanding; the corridor was then divided into two sections, each of which was to be designed differently.
The first section provides access to the training rooms for trainee master road builders. To create a fitting link to this vocational field right from the moment one enters, by means of a visual highlight, our aim was to make this corridor look like a road.
To achieve this, the substrate was first levelled using a scratch coating of Betoncoat 2K primer mixed with quartz sand of 0.2–0.3 mm grain size. Once the curing process was complete, a bonding coat of 2K Aqua primer was applied, which was then sanded over the entire surface with quartz sand of 0.3–0.6 mm grain size to achieve an asphalt-like surface texture.


Area masked off with sections for different designs
As early as the preliminary planning stage, the area was divided into two zones with different designs: one area with an asphalt-like surface and a road-like appearance, and a second with a chip design and an integrated logo. The masking tape is used to ensure a clean separation between the different sections, prevents paint bleeding and facilitates the precise realisation of the creative ideas.
Left: Scratch coating using Betoncoat 2K primer and quartz sand.
Right: 2K Aqua primer sanded with quartz sand.

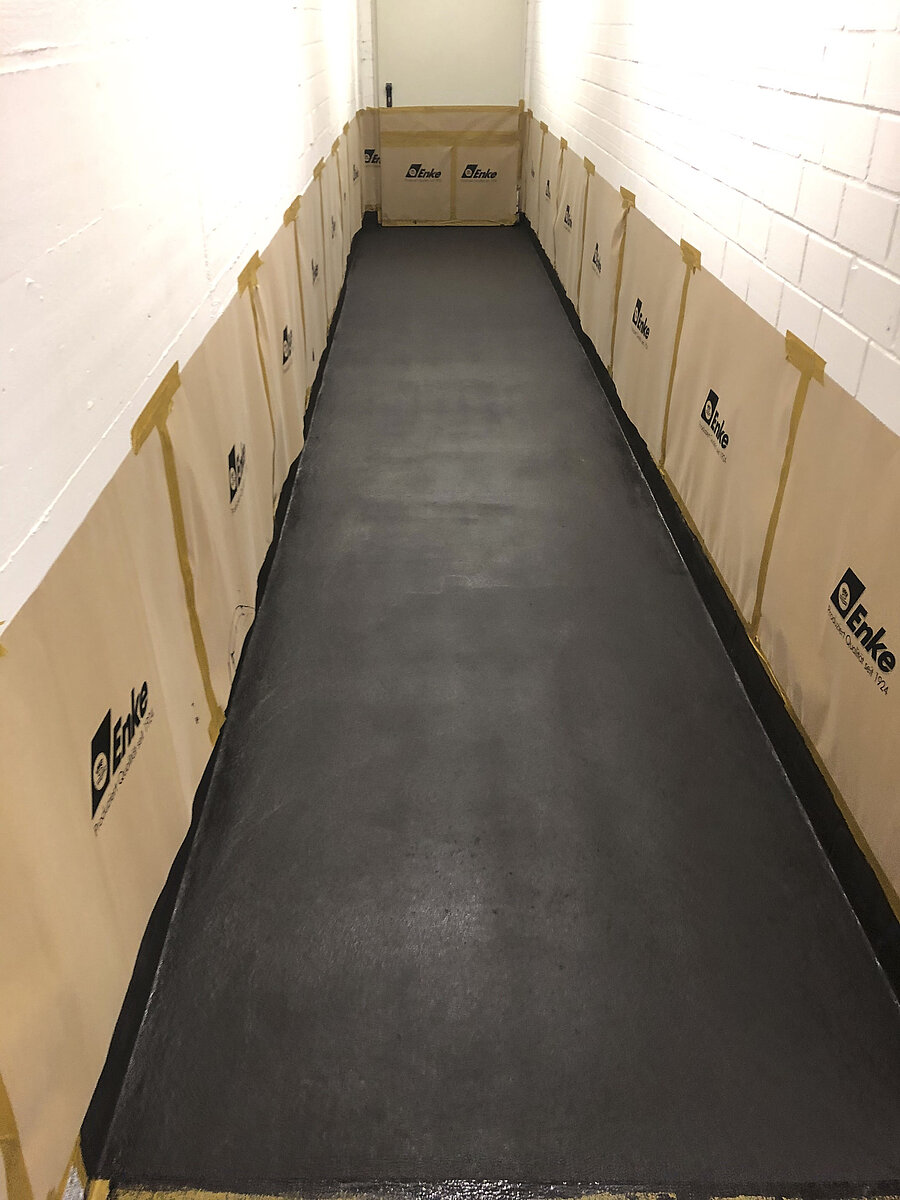
Application of the 2K Aqua sealing product (asphalt grey)
The sealing was applied generously using a roller. The asphalt-grey pigmentation creates the typical appearance of a road surface. At the same time, this layer provides long-lasting protection for the underlying components against abrasion, moisture and mechanical stress – particularly in high-traffic areas such as corridors or entrance areas.


Road marking using laser technology
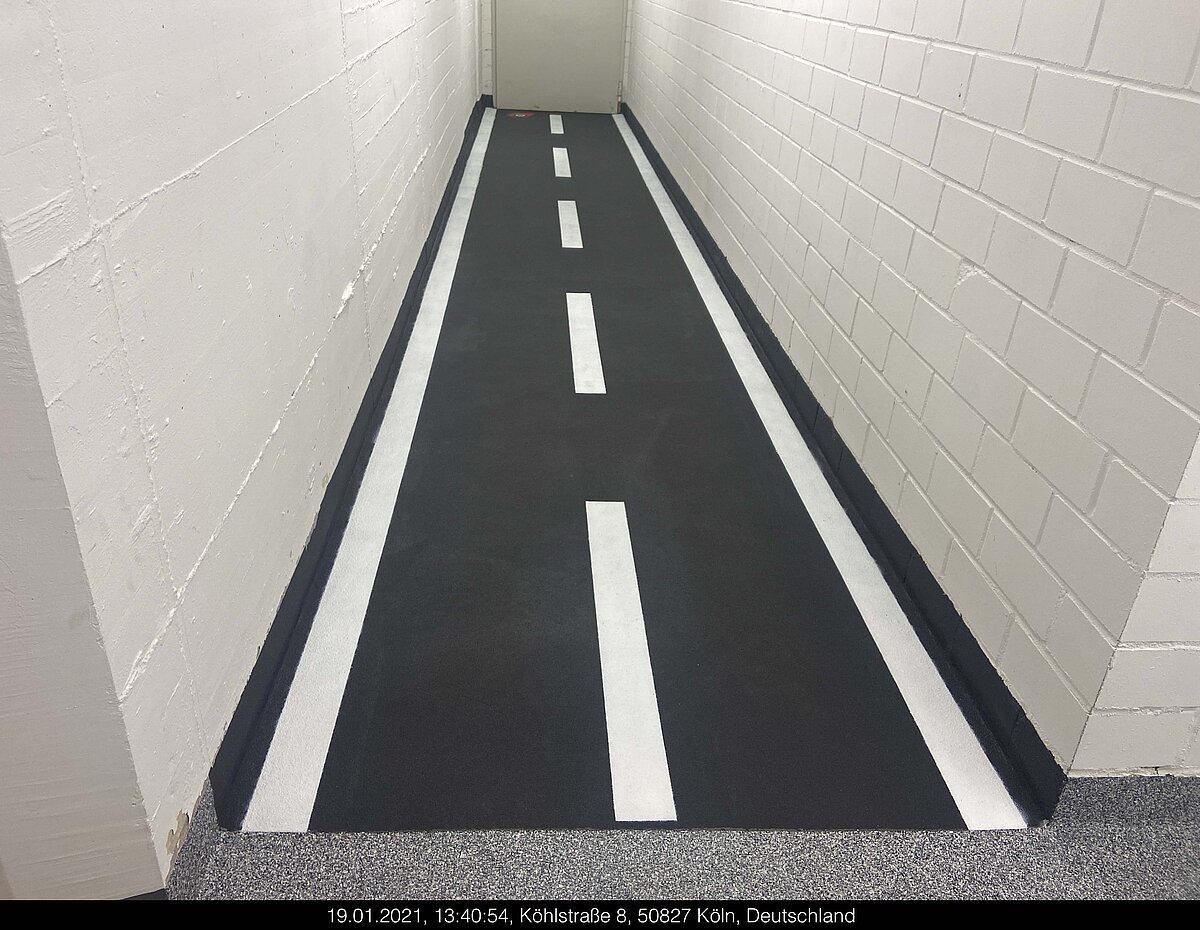
A laser surveying system was used to ensure the markings were positioned with exact precision. This precise alignment made it possible to transfer the road markings to the surface in a way that was true to scale and accurately reflected their actual course – a challenge that combines craftsmanship with state-of-the-art technology.


Applying the road markings and applying the final transparent Sealing
The lines were sprayed on in several layers of white acrylic paint to achieve the desired opacity and durability. Between each layer, the surface was checked to ensure it was even – a crucial factor in achieving a professional finish.
Once the line markings had dried, the entire surface was recoated with a transparent layer of Betoncoat 2K Aqua sealing compound. This final protective layer permanently seals the markings and increases scratch and abrasion resistance – a must for durable, heavy-duty floors.
Section 2: Surface of the plastic chips
In the second stage, following the application of the scratch coating, the transparent 2K Aqua primer was applied and then Enketop chips (pattern 06) were scattered over the entire surface. The even distribution of the chips creates a vibrant appearance whilst also providing a functional, slip-resistant surface.

Applying the scratch coating
to level the sanded substrate
After thoroughly sanding the existing floor, the surface is prepared with a scratch coating of Enke Betoncoat 2K Primer and kiln-dried quartz sand. This layer fulfils several functions at once: it levels out depressions, evens out joints and minor unevenness, whilst at the same time creating a sealed, adhesion-promoting surface for subsequent coatings. The result is a flat, mechanically robust substrate – ideal for creative designs and durable wear layers.


Adhesive coating and full-surface chipping with Enketop Chips
In the next step, the transparent Betoncoat 2K Aqua primer was applied evenly to the levelled surface as an adhesive layer. Whilst the primer was still fresh, the entire surface was then sprinkled with chip mixture 06 (light grey/dark grey). Using approximately 800 g/m², the surface was generously and evenly sprinkled with the chips, creating a homogeneous, decorative overall finish.
These chips not only ensure a high-quality appearance but also increase the slip resistance of the finished surface – a functional advantage, particularly in high-traffic areas.


Deburring, rounding off edges and sealing the chip surface
Once the chip coating had dried completely, all excess chips were carefully swept up the following day, collected and stored for reuse. Protruding particles and sharp-edged edges were deliberately broken down, after which the entire surface was thoroughly vacuumed.
Once the surface had been prepared in this way, a transparent sealing product – Betoncoat Versiegelung 2K Aqua – was applied. It was applied evenly with a roller and permanently sealed the chip coating. The result is a protected, slip-resistant and visually uniform surface – ideal for high-traffic training areas.


Applying the films and colour schemes for the logos
Following precise alignment, the negative films were applied to the chip surface without any air bubbles and pressed down firmly. These films served as stencils for spraying on the logos – a process that not only ensures clean contours but also guarantees the permanent integration of the design elements.
The exposed areas of the films were then evenly sprayed with a special pigmented paint. This was done in several thin layers to achieve high colour coverage whilst minimising the amount of material applied. The result was razor-sharp logos with a professional finish – embedded directly into the base and optimally protected.

Final sealing of the surface with 2K Aqua transparent sealing agent
Once the sprayed logos had dried completely, the entire floor surface was coated once more with 2K Aqua transparent sealing. This final protective layer ensures that both the chip coating and the integrated logos are permanently protected against mechanical stress, moisture and wear and tear.
The transparent sealing process creates a uniform sheen across the entire surface, which embeds the design elements in a visually appealing way whilst also ensuring a smooth, low-maintenance surface – ideal for high-traffic training and education areas.
The end result: robust, functional and customised
The result speaks for itself: a highly durable floor surface that impresses as much with its creative design as with its technical performance. The full-surface chip coating ensures slip resistance and suitability for everyday use, whilst the integrated logos give the space a distinct identity and enhance its aesthetic appeal.
The professional installation using the Enke Betoncoat System impressively demonstrates how individual design, precision in workmanship and long-lasting protection come together to form a perfect whole. A flooring solution that not only stands the test of time – but also leaves a lasting impression.
Enke products used
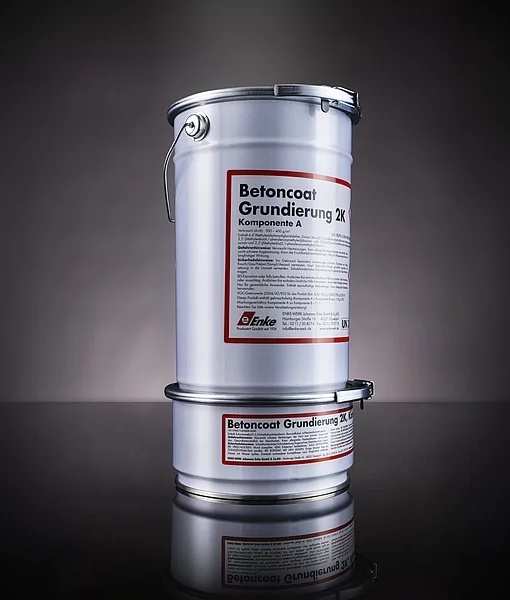
Two-component primer for mineral substrates. High adhesion, ideal for industrial surfaces, reaction resin mortars and Betoncoat PUR or EP coatings.
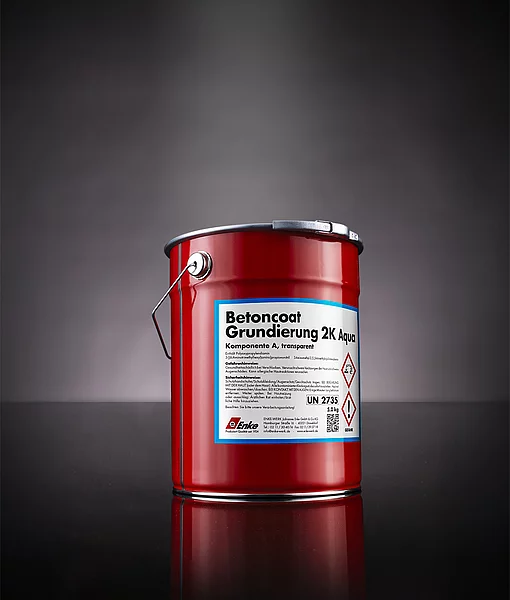
Water-based primer for smooth substrates and existing PU or EP coatings. Betoncoat 2K Aqua Primer – low-emission, high-adhesion, compatible with PUR & EP.
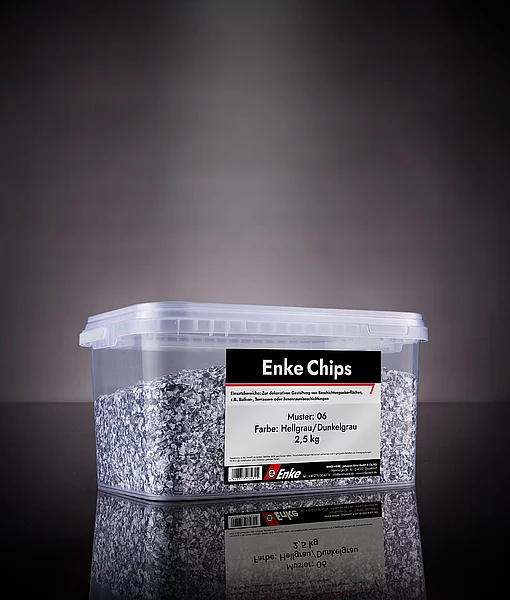
Colour-fast plastic chips for use on balconies, terraces and pergolas. Free-flowing, easy to work with, compatible with Enketop & Enkolan.
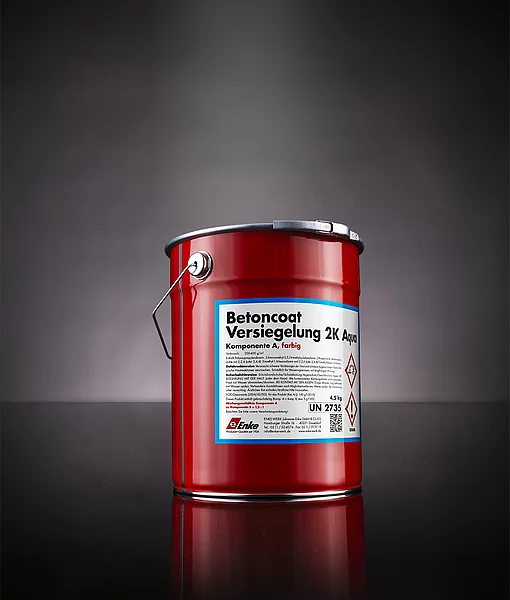
Water-based two-component sealing for heavy-duty floors: low-emission, coloured or transparent, UV-stable and abrasion-resistant. Ideal for use in the Betoncoat system.

Enke Field Service –
There when it matters most!
Enke’s field service team is right there on the ground – at the project site, on the building site, and close to your needs. With technical expertise, many years’ experience and a willingness to listen to individual challenges. Easily accessible in person, taking a practical approach – wherever solutions are needed that deliver on their promises.